How to Transition Balcony Plants Indoors for Winter
As the first chill of autumn hits your balcony, you realize your beloved plants can't stay out all winter. Don't panic—bringing them indoors doesn't have to be a stressful scramble. With a simple step-by-step plan, you can safely transition even a crowded urban balcony garden to a cozy indoor jungle.
When to Move Plants: Reading Temperature Cues
The first gentle nudge that it’s time to bring your balcony plants indoors is a chill in the evening air. Many popular balcony plants—think pothos, philodendrons, and most succulents—are tropical guests that start to suffer once nighttime temperatures dip below 50°F (10°C). Even if the days are still sunny and warm, those brisk nights can trigger stress you might not see until leaves yellow or drop. So, keep a close eye on the forecast. Don’t wait for droopy leaves to tell you they’re uncomfortable; by then, they’ve already been struggling.
To choose the exact moment, get familiar with your local climate rhythms. Look up your USDA hardiness zone and your area’s average first frost date. There are many free online tools where you can plug in your ZIP code and get this info instantly. Tender annuals like basil, coleus, and impatiens won’t survive a frost, but they’ll start to decline long before that. Mark your calendar a week or two before that expected frost date, and use it as your personal deadline to start the moving process.
Weather isn’t always predictable, and a sudden cold snap can arrive without much warning. When an unexpected temperature plunge is predicted, act quickly. Even a single night of near-freezing conditions can kill sensitive plants outright or cause lasting damage. It’s smart to have a backup plan: keep old sheets or frost cloth on your balcony for emergency cover-ups, but know that moving plants inside is the only surefire protection.
A gradual transition is your plants’ best friend. As soon as evenings start cooling down, begin bringing your green buddies inside for the night and putting them back out in the morning. This eases them into the lower light and drier air of your home before your heating system kicks into high gear. By the time the furnace runs regularly, they’ll be better prepared for the shift, and you’ll avoid the double shock of cold stress and dry indoor air. Think of it as a gentle acclimation—a little patience now means healthier, happier plants all winter long.
Inspect and Debug: Keep Pests Outside
Before your plants become roommates with your indoor greenery, a thorough inspection is the single most effective way to prevent a winter pest nightmare. The few extra minutes you spend now can save weeks of frustration later.
Start by examining every leaf—both the tops and the undersides. Common hitchhikers like aphids, spider mites, and mealybugs often hide along veins or where leaves meet the stem. Use a magnifying glass or your phone’s camera zoom to spot tiny eggs or webbing. Don’t forget to check the soil surface for ants or fungus gnats, and gently lift the pot to inspect the drainage hole for slugs or pill bugs.
Once you’ve identified any potential problems, give each plant a gentle shower. Use lukewarm water and a spray nozzle set to a fine mist or shower setting. For sturdier foliage, a more forceful spray can dislodge stubborn pests; for delicate leaves, hold the pot sideways and let water cascade without battering the plant. If weather permits, do this outdoors, or use a deep sink with a handheld sprayer.
After their bath, transition plants into a quarantine zone. Choose a spot well away from your permanent houseplant collection—a spare room, a bright corner of the kitchen, or even a bathroom with natural light. Keep new arrivals isolated for 1–2 weeks. During this time, inspect them every few days, paying attention to any changes like yellowing leaves, sticky residue, or tiny specks on stems. Catching an issue early during quarantine means you can treat it before it spreads.
For added peace of mind, consider applying a preventive treatment. A solution of insecticidal soap or a dilution of neem oil, sprayed according to label instructions, can knock back any remaining eggs or unseen pests. Test on a small leaf first, and avoid spraying in direct sun to prevent leaf burn. This simple step creates a protective barrier without harsh chemicals and sets your plants up for a healthy winter indoors.
Acclimate Gradually: Avoid Shock
Moving your plants from the breezy, sun-drenched balcony to the still, dimmer indoors is a big change, and a gradual transition is the key to keeping them happy. Outdoor conditions give plants abundant light, moving air, and higher humidity—all of which drop significantly once they’re inside. Without a slow adjustment, you’ll often see drooping, yellowing, or a dramatic leaf drop that can alarm any plant parent.
Start the process about two weeks before your target move-in date. First, shift each plant to a spot on your balcony that gets less direct sun than usual—perhaps under an awning or in the corner that only sees morning light. Leave them there for 5–7 days, so they begin adapting to lower light intensity while still enjoying fresh air.
Once you bring them inside, place them in a room with bright, indirect light. Keep them there for just a few hours on the first day, then gradually increase exposure over the next 7–10 days. This mimics the natural slowing of daylight and gives leaves time to adjust their photosynthetic machinery. During this period, resist the urge to move plants around too much; find a spot that will be their permanent winter home and stick with it.
Indoor air is typically much drier, especially when heating systems run. Grouping your plants together naturally raises the humidity around their leaves—as they transpire, they create a small, shared microclimate. You can also place a shallow tray of water and pebbles nearby (without letting pots sit in water) to add gentle moisture to the air.
It’s perfectly normal for plants to shed a few older leaves when they adjust. Don’t panic and overcompensate with extra water—this is one of the most common mistakes. Overwatering can quickly lead to root rot in lower light conditions. Instead, check the soil moisture with your finger and only water when the top inch feels dry. With patience and a steady routine, your plants will settle into their winter quarters and emerge ready to thrive next spring.
Find the Perfect Indoor Spot
Once your plants are cleaned and gradually acclimated, the next step is to choose exactly where they’ll live indoors through the colder months. In most apartments and condos, space is at a premium, but with a little planning, you can create microclimates that keep your green friends thriving.
Light is everything. South- and west-facing windows are your best bet for the brightest natural light. Observe how the sun moves through your rooms during the day—obstructions like neighboring buildings or window screens can reduce intensity. If you notice leggy growth or pale leaves, your spot may not be bright enough. That’s when a simple grow light can work wonders. Clip-on LED lights or a small full-spectrum bulb in a desk lamp can supplement natural light without taking up floor space.
Watch out for drafts and heat sources. While your plants crave light, they won’t appreciate cold drafts from poorly sealed windows or hot, dry air from radiators and heating vents. Place a thermometer near your chosen spot to monitor temperature swings. A spot that drops below 55°F (13°C) at night can stress many tropical plants, while constant warm, dry airflow from a vent can crisp leaves and invite spider mites. Move plants a few feet away from drafty panes or use a window insulator kit if needed.
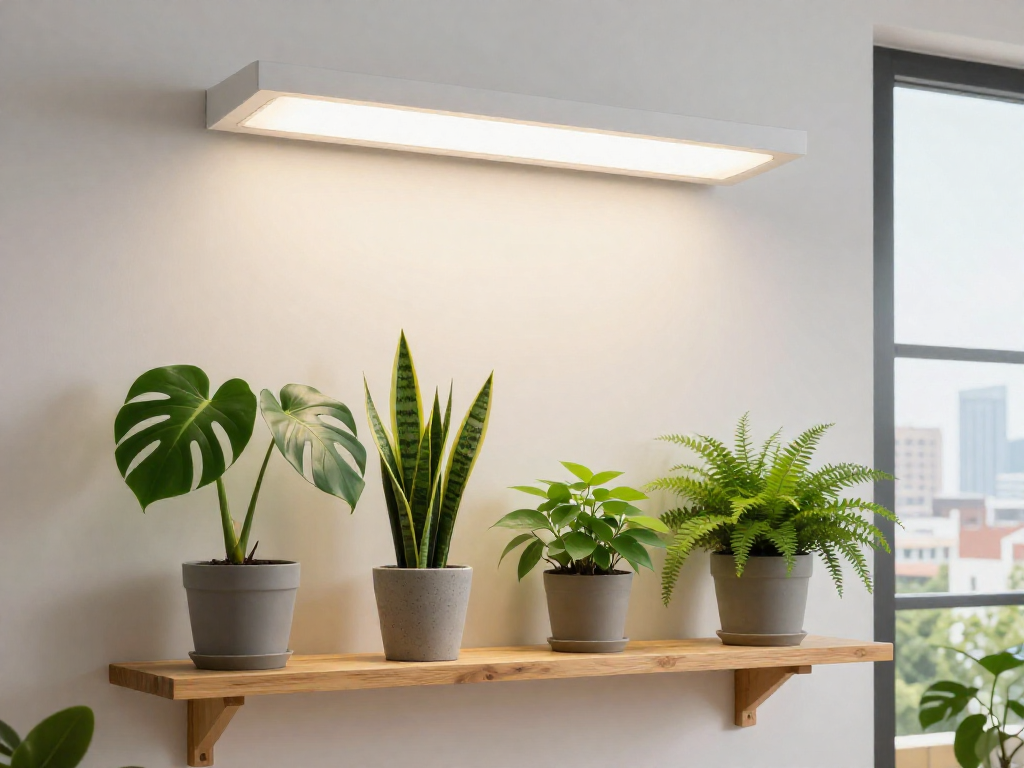
Maximize your small footprint. Apartments rarely have spacious plant rooms, so think vertically. Sturdy shelves in front of a window can hold multiple pots without blocking light for lower ones. Hanging planters from the ceiling or tension rods in a window frame add greenery without sacrificing floor space. Wall-mounted sconces with grow lights can turn an empty wall into a living art piece.
Keep them turning. In lower light, plants naturally lean toward the brightest source, leading to lopsided growth. Rotate each pot a quarter turn every week when you water. This small habit keeps stems straight, foliage full, and your collection looking lush from every angle.
Adjust Care Routine for Winter Dormancy
Once your plants are settled in their cozy indoor spots, it's time to shift gears with their care. Winter means slower growth—or even full dormancy—for many balcony favorites, so your usual TLC needs a seasonal tweak. Think of this as helping them rest and recharge for a burst of spring energy.
Water with a Lighter Touch
Overwatering is the most common winter plant mistake. With lower light and cooler temps, your plants simply aren't as thirsty. Let the top inch or two of soil dry out completely before you reach for the watering can. A quick finger test works wonders: if it feels damp, wait a few more days. For succulents and cacti, allow the soil to dry even deeper. Remember, a droopy plant could be thirsty or overwatered—check the soil before making a call. When you do water, do it thoroughly until it drains from the bottom, then empty the saucer to avoid soggy roots.
Put Fertilizer on Pause
Most plants aren't hungry during the winter months, so put the fertilizer away until you see new growth in early spring. Feeding a resting plant can lead to weak, leggy growth or even root burn. The exception? If you have a winter bloomer like a Christmas cactus or an indoor herb that's still pushing out leaves under a grow light, you can offer a very diluted liquid feed (think quarter-strength) every 4–6 weeks. But for the vast majority of your leafy friends, a season of neglect on the nutrient front is exactly what they need.
Keep Leaves Clean and Light-Ready
Indoor light is already less intense, and dusty leaves block even more of that precious energy. Every couple of weeks, grab a soft, damp cloth and gently wipe down broad leaves like those on fiddle-leaf figs or monsteras. For fussy or fuzzy foliage, a soft brush or a burst of air from an empty spray bottle does the trick. Clean leaves not only maximize photosynthesis, but they also help you spot any early signs of pests or stress, like yellowing or spots.
Stay Vigilant for Indoor Party Crashers
The cozy indoor environment can invite unwanted guests like fungus gnats. These tiny flies thrive in consistently moist soil, so letting the surface dry out between waterings is your first line of defense. If you spot them, yellow sticky traps placed near the pots catch the adults, and you can top-dress the soil with a thin layer of sand or fine gravel to discourage egg-laying. Check the soil often, and if you see any mold or fungus, that's a sign to water less and improve air circulation. A small fan on low can help without chilling your plants.
Adjusting your routine takes observation—no two homes are exactly alike. Spend a few minutes each week just looking at your plants. Notice their colors, firmness, and overall vibe. They'll communicate what they need, and soon you'll develop an instinct for the perfect winter rhythm. Your little green crew will reward your mindful care with a healthy, vibrant return come spring.
FAQ
What if I don't have enough windowsill space for all my plants?
Consider using plant stands, shelves, or hanging planters near bright windows to maximize vertical space. You can also group plants together to create a microclimate that boosts humidity, and rotate them weekly so each gets enough light. If space is extremely tight, a clip-on grow light can turn any corner into a cozy winter home for your greenery.
Can I leave my plants out a little longer if it hasn't frozen yet?
It’s tempting, but many tender plants suffer damage once nighttime temperatures dip below 50°F (10°C), even without a freeze. Gradual acclimation is safer: bring them indoors when temperatures are consistently cool, and keep an eye on the forecast for sudden drops. A few chilly nights can weaken plants, making them more susceptible to pests and shock.
Why are my plant's leaves turning yellow after I brought it inside?
Yellowing leaves often signal stress from the change in light, humidity, or watering. Indoor air tends to be drier and light levels lower, so your plant may be adjusting by dropping older leaves. Check that you’re not overwatering, and give it time to adapt—new growth should appear once it settles.
How do I prevent my cat from eating the plants once they're indoors?
Place plants in hanging baskets, on high shelves, or inside decorative terrariums that cats can’t access. You can also try citrus peels or a pet-safe bitter spray on leaves to deter nibbling, and always double-check that your plants are non-toxic. Redirecting your cat’s attention with cat grass can help satisfy their urge to chew greenery.
Is it necessary to repot my plants before bringing them in?
Repotting right before the transition can add extra stress, so it’s best to do it weeks earlier or wait until spring unless the plant is severely rootbound. Instead, check for pests, gently clean the leaves, and consider topping up the soil if it has compacted. A healthy root system can handle winter indoors better without the shock of a new pot.
My balcony is enclosed but unheated—can I still leave plants out there?
It depends on how cold the space gets. If it stays above 40–50°F (4–10°C), hardy plants like succulents, cold-tolerant herbs, or evergreens might survive, but tropicals likely won’t. Monitor temperatures closely and have a backup plan, like insulating the enclosure or bringing plants inside on the coldest nights.